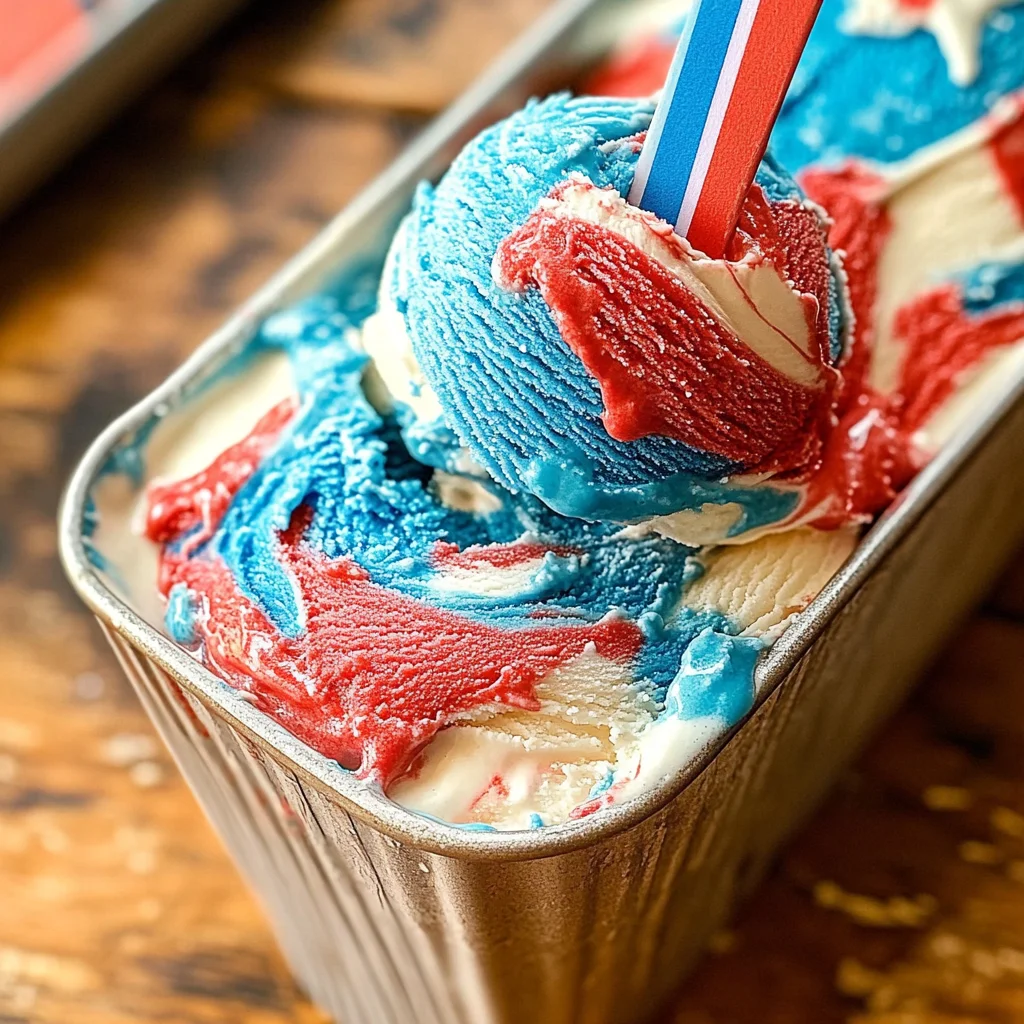
Red White and Blue Ice Cream
Red White and Blue Ice Cream is a delightful treat that brings together the rich flavors of vanilla with vibrant colors, making it perfect for summer celebrations. Whether you’re hosting a barbecue, celebrating Independence Day, or simply enjoying a warm day, this no-churn ice cream is sure to impress. Its creamy texture and colorful layers create a visual feast that appeals to both kids and adults alike.
Why You’ll Love This Recipe
- Easy to Make: With just a few simple steps, you can whip up this delicious ice cream without any special equipment.
- No Churn Required: No ice cream maker? No problem! This recipe allows you to create creamy ice cream without churning.
- Customizable Colors: Use your favorite colors to create a unique dessert for any occasion, not just patriotic holidays.
- Perfect for Any Occasion: Ideal for summer parties, barbecues, or simply as a cool treat on a hot day.
- Kid-Friendly Fun: Involve the kids in the fun of coloring and layering the ice cream for an engaging kitchen activity.
Tools and Preparation
To make Red White and Blue Ice Cream successfully, you’ll need a few essential tools. These will help ensure that your ice cream turns out perfectly smooth and delicious.
Essential Tools and Equipment
- Mixing bowl
- Whisk
- Loaf pan or container
- Measuring cups and spoons
Importance of Each Tool
- Mixing bowl: A large bowl is essential for combining ingredients easily without spills.
- Whisk: This tool helps achieve stiff peaks in the whipping cream, which is crucial for the right texture.
- Loaf pan or container: Using the right container ensures even freezing and easy serving later on.
Ingredients
No churn vanilla ice cream that is turned into this patriotic dessert perfect for summer!
For the Ice Cream Base
- 2 cups very cold heavy whipping cream
- 1 can (14 oz sweetened condensed milk)
- 2 teaspoons pure vanilla extract
For Coloring
- Food coloring – Red (White and Blue)
How to Make Red White and Blue Ice Cream
Step 1: Prepare Your Tools
- Place the loaf pan or container in the freezer for at least 30 minutes to chill.
- Put your mixing bowl and whisk in the freezer for 30 minutes as well.
Step 2: Whip the Cream
- Ensure that both the whipping cream and sweetened condensed milk are really cold.
- In a large bowl, beat the heavy whipping cream until stiff peaks form.
Step 3: Combine Ingredients
- In a medium bowl, combine the sweetened condensed milk with vanilla extract until smooth.
- Gradually add this mixture to the whipped cream by gently folding it in.
Step 4: Add Colors
- Divide the mixture into three separate bowls (about 2 cups each).
- Add food coloring to each bowl—red in one, blue in another—and gently fold until blended.
Step 5: Layer Your Ice Cream
- Remove your chilled container from the freezer.
- Drop spoonfuls of each colored mixture into the container randomly to create layers.
Step 6: Freeze
- Cover the container with plastic wrap or a lid.
- Freeze overnight to allow the flavors to meld together.
Enjoy your homemade Red White and Blue Ice Cream as a refreshing treat during warm days!
How to Serve Red White and Blue Ice Cream
Serving Red White and Blue Ice Cream is a delightful way to celebrate summer gatherings, especially around patriotic holidays. Here are some fun serving suggestions to make your dessert stand out.
Fun Party Bowls
- Use colorful bowls that match the theme. They add a festive touch to your dessert presentation.
Ice Cream Sandwiches
- Scoop the ice cream between two cookies for a delicious treat. Choose soft cookies like chocolate chip or sugar cookies.
Sundae Bar
- Set up a sundae bar with toppings like sprinkles, nuts, and whipped cream. Let everyone customize their own sundae!
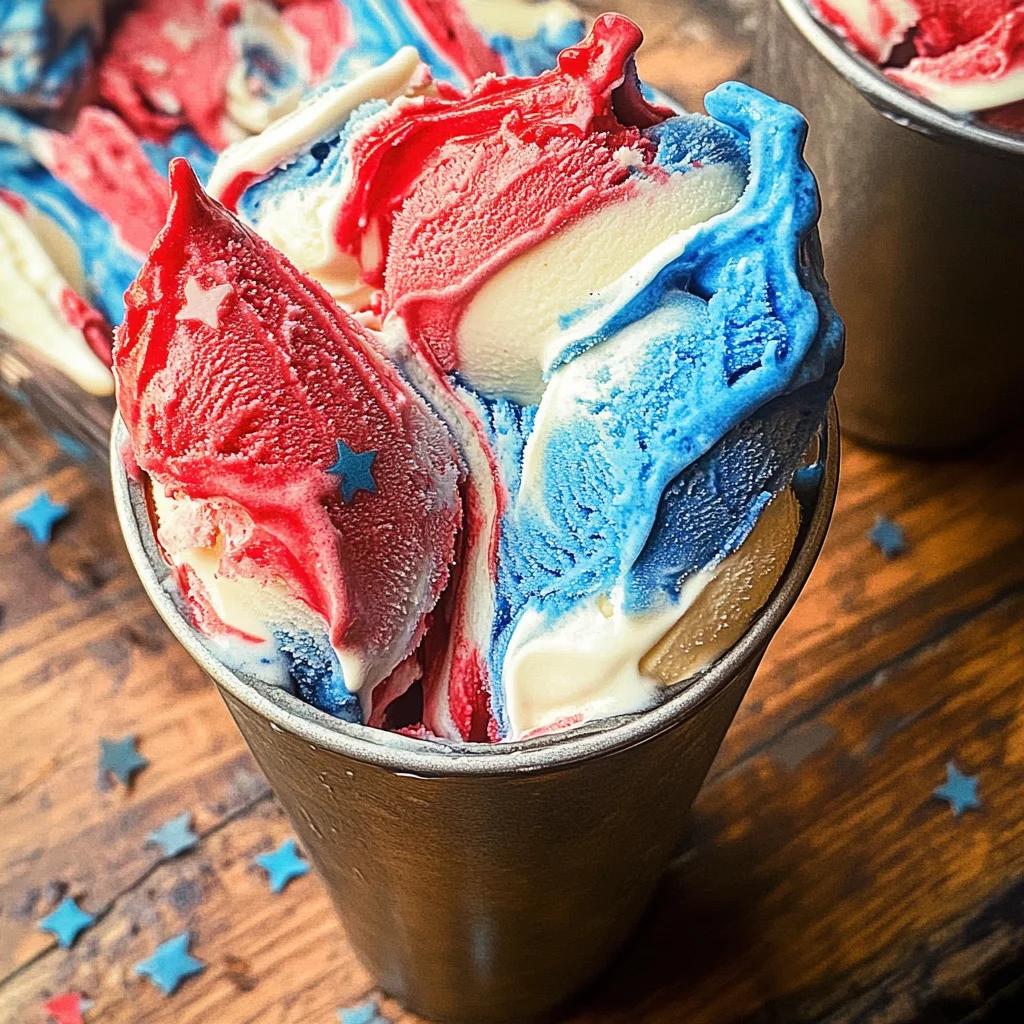
Individual Cups
- Serve in small cups for easy handling at parties. Top each cup with a cherry for an extra pop of color.
Waffle Cones
- Serve the ice cream in waffle cones for a classic treat. They add a crunchy texture that complements the creamy ice cream.
How to Perfect Red White and Blue Ice Cream
To ensure your Red White and Blue Ice Cream turns out perfectly every time, consider these helpful tips.
-
Chill everything: Make sure your whipping cream and condensed milk are very cold before mixing. This helps achieve stiff peaks in the cream.
-
Use gentle folds: When combining the milk mixture with the whipped cream, use gentle folding techniques to maintain airiness.
-
Color carefully: Add food coloring slowly and gently fold it in to avoid overmixing, which can dull the colors.
-
Freeze properly: Allow ample freezing time overnight for the best texture. This ensures your ice cream is firm yet scoopable.
Best Side Dishes for Red White and Blue Ice Cream
Pairing side dishes with Red White and Blue Ice Cream can enhance your dessert experience. Here are some great options to consider.
- Fresh Fruit Salad: A refreshing mix of strawberries, blueberries, and bananas complements the ice cream beautifully.
- Mini Cheesecakes: Bite-sized cheesecakes add richness that pairs well with creamy ice cream.
- Patriotic Fruit Skewers: Alternate pieces of red strawberries, white marshmallows, and blue blueberries on skewers for a fun presentation.
- Brownie Bites: Small, fudgy brownies provide a rich contrast to the lightness of the ice cream.
- Granola Parfaits: Layer granola with yogurt and berries for a crunchy side that balances sweetness.
- Chocolate-Dipped Pretzels: The salty crunch of pretzels dipped in chocolate makes an addictive snack alongside ice cream.
- Cookie Platter: Offer an assortment of cookies so guests can enjoy different flavors alongside their scoops of ice cream.
- Coconut Macaroons: These chewy treats add a tropical twist that pairs well with vanilla flavors from the ice cream.
Common Mistakes to Avoid
Making Red White and Blue Ice Cream can be a delightful experience, but common mistakes can hinder your success.
- Skipping the chilling process – Ensure that both the bowl and whisk are chilled before whipping the cream. This helps achieve stiff peaks more easily.
- Overmixing the cream – Gently fold the condensed milk mixture into the whipped cream. Overmixing can deflate the air you’ve incorporated, resulting in a denser ice cream.
- Not using enough food coloring – When coloring your ice cream, add coloring gradually. This ensures you achieve the desired vibrancy without overwhelming the mixture.
- Using warm ingredients – Make sure all ingredients are very cold. Warm ingredients will not whip properly and may lead to a less creamy texture.
- Neglecting to freeze properly – Allow your ice cream to freeze overnight for the best texture. Rushing this step can lead to a grainy consistency.
Storage & Reheating Instructions
Refrigerator Storage
- Store in an airtight container for up to 3 days.
- Keep away from strong-smelling foods to maintain flavor.
Freezing Red White and Blue Ice Cream
- Freeze in a tightly sealed container for up to 2 months.
- For best results, press plastic wrap against the surface before sealing.
Reheating Red White and Blue Ice Cream
- Oven – Not recommended as ice cream should not be reheated in an oven.
- Microwave – Use low power for very short bursts (10-15 seconds) if you need it softened quickly.
- Stovetop – Not suitable; ice cream is best enjoyed cold.
Frequently Asked Questions
What is Red White and Blue Ice Cream?
Red White and Blue Ice Cream is a no-churn vanilla ice cream layered with red and blue food coloring, perfect for patriotic celebrations.
Can I use different colors for my ice cream?
Absolutely! You can customize the colors based on your theme or preferences while keeping the base flavor intact.
How long does it take to make Red White and Blue Ice Cream?
The total time includes about 15 minutes of active prep, followed by at least 8 hours of freezing time for optimal texture.
Is Red White and Blue Ice Cream kid-friendly?
Yes! This delightful dessert is great for kids, making it perfect for summer parties or festive gatherings.
Final Thoughts
Red White and Blue Ice Cream is not only visually stunning but also incredibly easy to make. Its versatility allows you to customize flavors or colors based on your preferences. Try this recipe today and enjoy a refreshing treat that celebrates summer!
Red White and Blue Ice Cream

Indulge in the delightful layers of Red White and Blue Ice Cream, a no-churn dessert that’s perfect for summer celebrations. This vibrant treat combines creamy vanilla ice cream with colorful layers of red and blue, making it a festive addition to any gathering. Whether you’re hosting a backyard barbecue or celebrating special occasions, this easy-to-make dessert is sure to impress both kids and adults alike. Plus, you don’t need an ice cream maker to whip up this refreshing delight!
- Prep Time: 15 minutes
- Cook Time: 0 minutes
- Total Time: 15 minutes
- Yield: 8 servings 1x
- Category: Dessert
- Method: No Churn
- Cuisine: American
Ingredients
- 2 cups very cold heavy whipping cream
- 1 can (14 oz) sweetened condensed milk
- 2 teaspoons pure vanilla extract
- Food coloring (red and blue)
Instructions
- Chill a loaf pan and mixing bowl in the freezer for at least 30 minutes.
- In the chilled bowl, beat the heavy whipping cream until stiff peaks form.
- In another bowl, mix sweetened condensed milk with vanilla extract until smooth.
- Gently fold the milk mixture into the whipped cream.
- Divide the mixture into three bowls; add red food coloring to one and blue to another, gently folding until blended.
- Layer spoonfuls of each color into the chilled container randomly.
- Cover and freeze overnight.
Nutrition
- Serving Size: 1/2 cup (125g)
- Calories: 350
- Sugar: 24g
- Sodium: 50mg
- Fat: 28g
- Saturated Fat: 17g
- Unsaturated Fat: 10g
- Trans Fat: 0g
- Carbohydrates: 30g
- Fiber: 0g
- Protein: 3g
- Cholesterol: 85mg