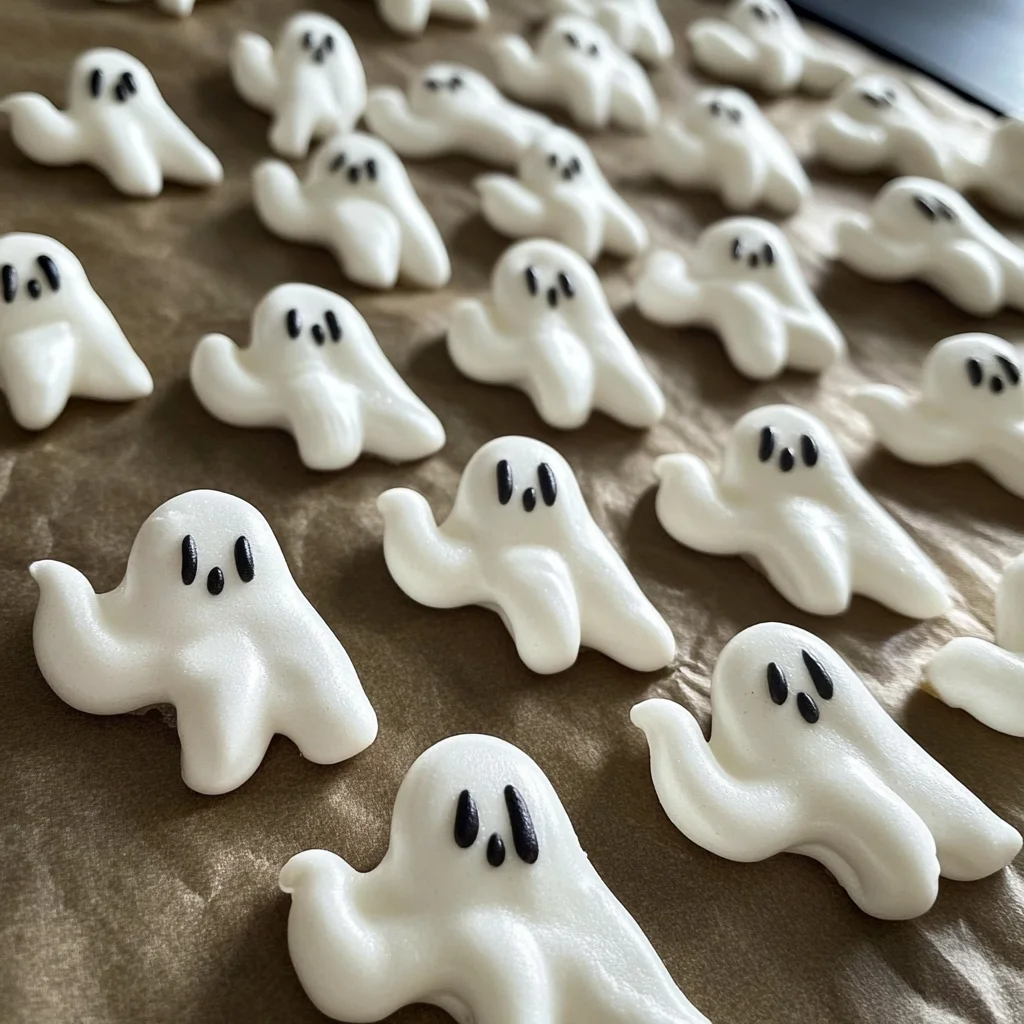
Ghost-Shaped Meringue Cookies
Ghost-Shaped Meringue Cookies are the perfect spooky treat for Halloween or any festive occasion. These delightful meringue cookies not only look adorable but are also light and airy, making them irresistible to kids and adults alike. Their unique ghostly shapes and customizable decorations will add fun to your dessert table. Plus, they are simple to make with just a few ingredients!
Why You’ll Love This Recipe
- Easy to Make: With just a handful of ingredients, these cookies come together quickly, making them a fantastic choice for both novice and experienced bakers.
- Fun for All Ages: Kids love helping to pipe the ghost shapes and decorate them, turning baking into a fun family activity.
- Versatile Decoration: While they have a spooky theme, you can personalize your meringues with different colors and designs for various occasions.
- Light and Airy Texture: The result is a melt-in-your-mouth cookie that is both sweet and satisfying without being heavy.
- Perfect for Parties: These cookies make an eye-catching addition to any Halloween gathering or celebration, sure to impress your guests.
Tools and Preparation
To create your Ghost-Shaped Meringue Cookies, you’ll need some essential tools. Having the right equipment ensures smooth preparation and better results.
Essential Tools and Equipment
- Stand mixer or hand whisk
- Mixing bowl
- Parchment paper
- Baking sheets
- Black edible marker
Importance of Each Tool
- Stand mixer or hand whisk: Essential for achieving firm peaks in the egg whites, ensuring your meringues are fluffy.
- Parchment paper: Prevents sticking and makes it easy to remove your ghost-shaped cookies from the baking sheet.
Ingredients
For the Meringue Cookies
- 3 medium egg whites
- 170 g (¾ cup) sugar
- 1 teaspoon vanilla extract or 1 packet vanilla sugar
- ½ teaspoon vinegar or a squeeze of lemon juice
How to Make Ghost-Shaped Meringue Cookies
Step 1: Preheat the Oven
Set your oven to 95°C (200°F). Preheating ensures even baking.
Step 2: Beat Egg Whites
Using a stand mixer or hand whisk, beat the egg whites until firm peaks form. This step is crucial for the right texture.
Step 3: Add Sugar Gradually
Slowly add sugar, a little at a time, while continuing to beat. This process helps incorporate air into the mixture.
Step 4: Add Vanilla & Acid
Mix in vanilla extract and vinegar (or lemon juice). This adds flavor while stabilizing the meringue.
Step 5: Beat Until Glossy
Keep whipping until the meringue is shiny, stiff, and smooth—no graininess when rubbed between fingers. A glossy finish indicates it’s ready for piping.
Step 6: Pipe Ghost Shapes
On two parchment-lined baking sheets, pipe small ghost shapes using a piping bag. Have fun with their designs!
Step 7: Bake
Bake for 90–120 minutes until cookies lift easily off the parchment. They should be dry but not browned.
Step 8: Cool & Decorate
Let cookies cool completely. Use a black edible marker to draw ghostly eyes and screaming mouths for added character.
Step 9: Serve & Enjoy
Watch the kids’ delight as they find these spooky, sweet treats! They make wonderful gifts too!
How to Serve Ghost-Shaped Meringue Cookies
Ghost-shaped meringue cookies are not just delightful treats; they also add a fun element to any gathering or celebration. Here are some creative serving suggestions that will make these spooky snacks even more enjoyable.
Use as Halloween Party Favors
- Present the cookies in clear bags tied with orange or black ribbons for a charming party favor.
Create a Spooky Dessert Table
- Arrange the ghost-shaped cookies among other Halloween-themed desserts for an eye-catching display.
Pair with Hot Chocolate
- Serve these airy cookies alongside a warm cup of hot chocolate for a cozy treat that kids will love.
Add to Ice Cream Sundaes
- Crumble the meringue cookies over ice cream sundaes for an extra crunch and festive touch.
Include in Lunchboxes
- Surprise your kids by adding ghost-shaped cookies to their lunchboxes, making lunchtime fun and exciting.
How to Perfect Ghost-Shaped Meringue Cookies
Creating perfect ghost-shaped meringue cookies requires attention to detail. Follow these tips to achieve the best results.
- Use fresh egg whites: Fresh eggs whip better, resulting in fluffier meringues.
- Ensure no yolk is present: Even a small amount of yolk can prevent egg whites from reaching stiff peaks.
- Gradually add sugar: This helps dissolve the sugar properly and leads to a smoother texture.
- Pipe with precision: Use a piping bag fitted with a round tip for neat ghost shapes.
- Monitor baking time: Every oven is different; check your meringues after 90 minutes for doneness.
- Cool completely before decorating: This ensures that the surface is stable enough for drawing on with edible markers.
Best Side Dishes for Ghost-Shaped Meringue Cookies
Ghost-shaped meringue cookies pair well with various side dishes that enhance their sweetness and spooky theme. Here are some great options:
- Pumpkin Spice Cupcakes: Moist cupcakes topped with cream cheese frosting offer a seasonal flavor complement.
- Chocolate-Dipped Strawberries: Juicy strawberries dipped in chocolate provide a fruity contrast to the lightness of meringues.
- Caramel Apple Slices: Fresh apple slices drizzled with caramel sauce create a sweet and crunchy side.
- Spooky Fruit Salad: A mix of seasonal fruits like oranges, grapes, and blueberries adds vibrant colors to your table.
- Gingerbread Cookies: These spiced treats bring warmth and nostalgia, making them perfect for fall gatherings.
- Candy Corn Trail Mix: A blend of candy corn, nuts, and dried fruits offers both sweetness and crunch alongside your ghostly delights.
Common Mistakes to Avoid
To ensure your Ghost-Shaped Meringue Cookies turn out perfectly, avoid these common pitfalls.
- Skipping the Egg White Temperature: Make sure your egg whites are at room temperature for better volume. Cold egg whites may not whip properly.
- Adding Sugar Too Quickly: Adding sugar all at once can deflate the meringue. Gradually incorporate it while beating to achieve the right texture.
- Not Checking for Stiff Peaks: Ensure you beat the egg whites until stiff peaks form. Under-beaten egg whites won’t hold their shape when piped.
- Overbaking or Undercooking: Keep a close eye on the baking time. Overbaking can lead to dryness, while underbaked cookies will collapse. Aim for a crisp outer shell.
- Ignoring Cooling Time: Let your cookies cool completely before decorating. This prevents smudging and helps maintain their shape.
Storage & Reheating Instructions
Refrigerator Storage
- Store in an airtight container.
- Consume within 1 week for best freshness.
Freezing Ghost-Shaped Meringue Cookies
- Place cookies in a single layer in a freezer-safe container.
- They can be frozen for up to 3 months.
Reheating Ghost-Shaped Meringue Cookies
- Oven: Preheat to 90°C (200°F) and warm for about 5-10 minutes.
- Microwave: Use low power for about 10 seconds; keep an eye on them.
- Stovetop: Not recommended, as they may become soft and lose shape.
Frequently Asked Questions
Here are some common questions about making Ghost-Shaped Meringue Cookies:
Can I use different flavors for my Ghost-Shaped Meringue Cookies?
Yes, you can customize by adding flavor extracts like almond or lemon instead of vanilla.
How do I know if my meringue is ready?
The meringue is ready when it forms stiff peaks that stand upright without drooping.
What can I use instead of vanilla extract?
You can substitute with vanilla sugar or any other flavoring of your choice for a unique taste.
How do I decorate my Ghost-Shaped Meringue Cookies?
Use a black edible marker to draw faces once the cookies are fully cooled and set.
How long do Ghost-Shaped Meringue Cookies last?
They last up to a week in an airtight container at room temperature, or three months if frozen.
Final Thoughts
Ghost-Shaped Meringue Cookies are not only delightful treats but also an engaging way to celebrate special occasions. Their light and airy texture makes them perfect for parties or gatherings. Feel free to customize the flavors and decorations to suit your theme!
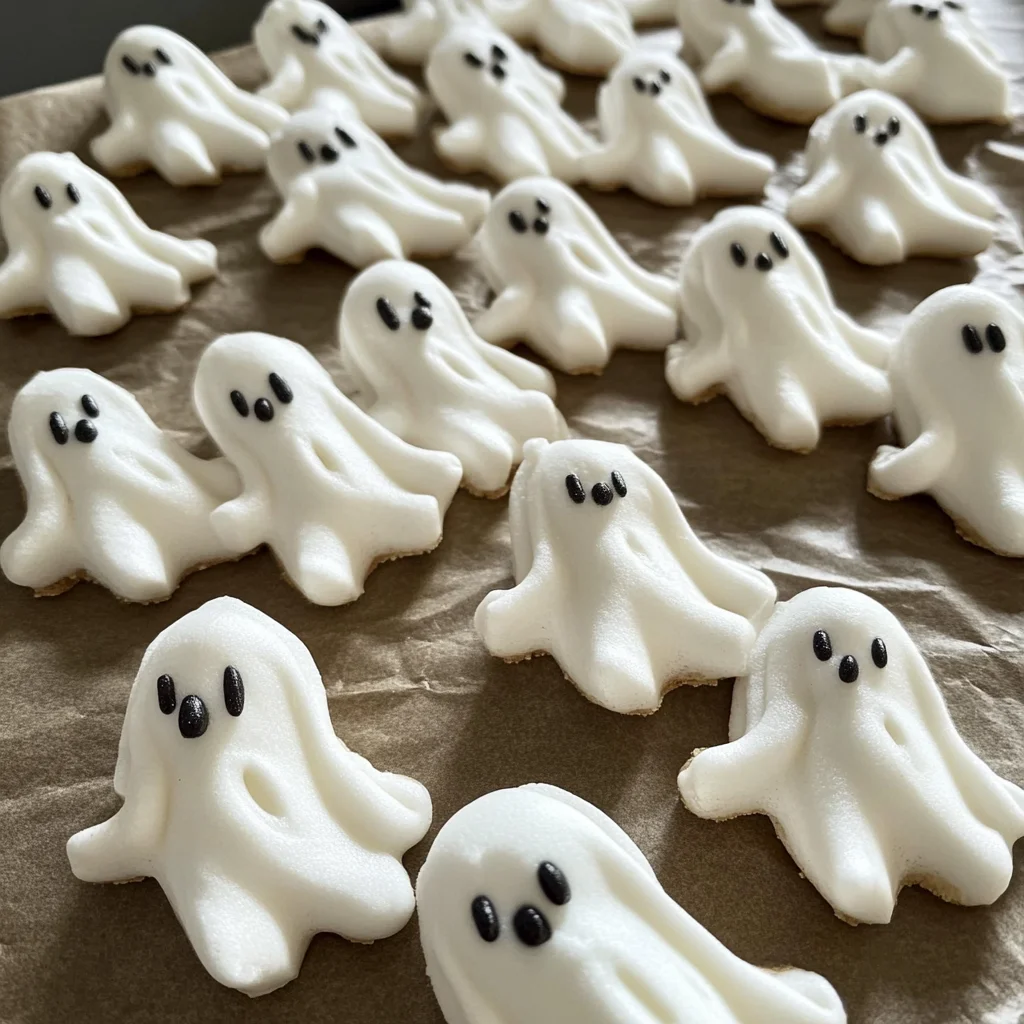
Ghost-Shaped Meringue Cookies
Indulge in the festive spirit with these delightful Ghost-Shaped Meringue Cookies! Perfect for Halloween or any celebration, these airy treats are not only adorable but also incredibly light, making them a hit among both kids and adults. With their customizable ghostly designs, you can easily add a whimsical touch to your dessert table. The recipe is straightforward and requires just a few simple ingredients, making it an enjoyable baking experience for everyone. Whether you’re hosting a party or just looking to surprise your family, these meringue cookies will surely impress!
- Prep Time: 15 minutes
- Cook Time: 90–120 minutes
- Total Time: 0 hours
- Yield: Approximately 24 cookies 1x
- Category: Dessert
- Method: Baking
- Cuisine: American
Ingredients
- 3 medium egg whites
- 170 g (¾ cup) sugar
- 1 teaspoon vanilla extract or 1 packet vanilla sugar
- ½ teaspoon vinegar or a squeeze of lemon juice
Instructions
- Preheat the oven to 95°C (200°F).
- In a mixing bowl, beat egg whites until firm peaks form.
- Gradually add sugar while continuing to beat until glossy and stiff.
- Mix in vanilla extract and vinegar (or lemon juice).
- Pipe small ghost shapes onto parchment-lined baking sheets.
- Bake for 90–120 minutes until dry and easily lifted off the parchment.
- Allow to cool completely before decorating with a black edible marker.
Nutrition
- Serving Size: 1 serving
- Calories: 44
- Sugar: 10g
- Sodium: 0mg
- Fat: 0g
- Saturated Fat: 0g
- Unsaturated Fat: 0g
- Trans Fat: 0g
- Carbohydrates: 11g
- Fiber: 0g
- Protein: <1g
- Cholesterol: 0mg