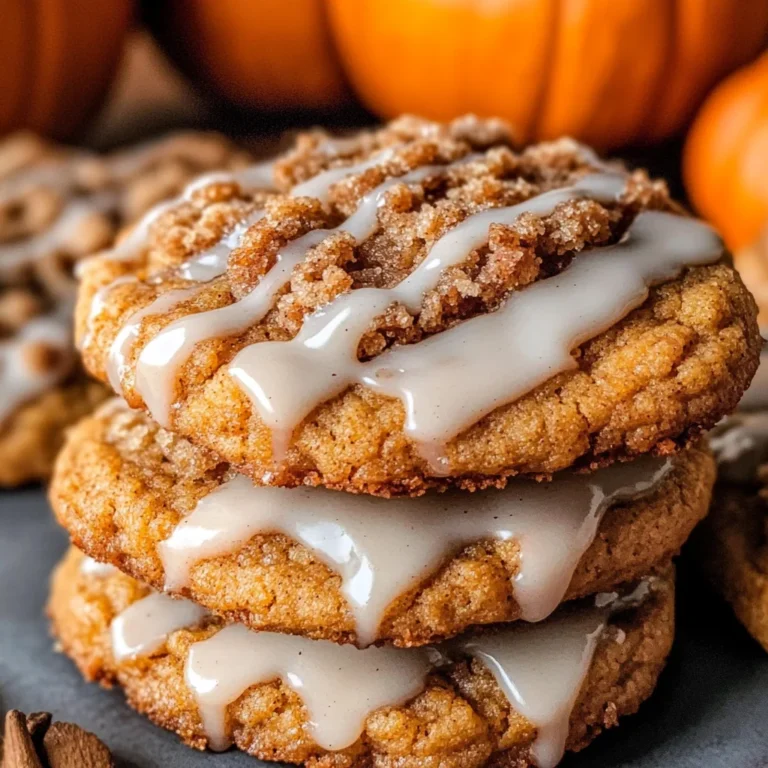
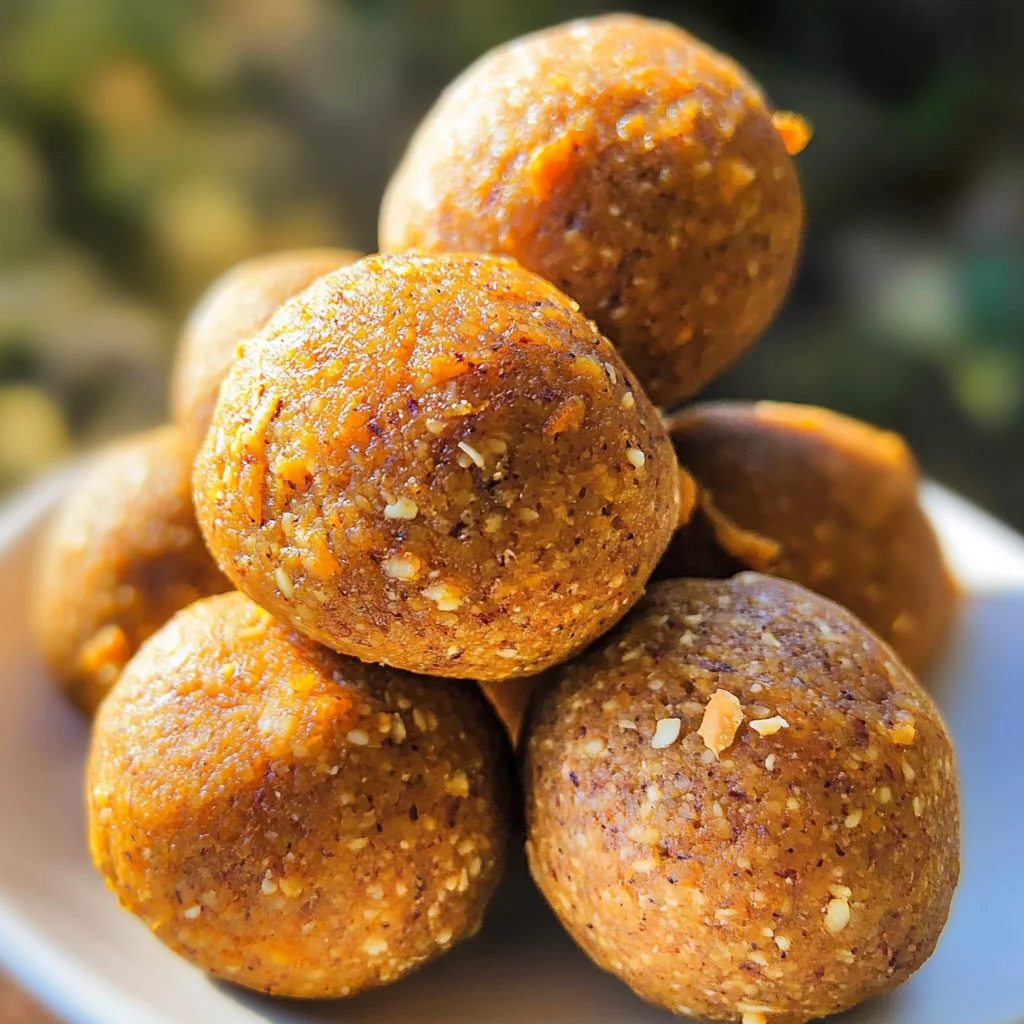
No-Bake Healthy Pumpkin Pie Energy Balls
No-Bake Healthy Pumpkin Pie Energy Balls are the perfect autumn snack, delivering a rich pumpkin flavor without the need for baking. These energy bites are not only easy to make but are also packed with nutrients, making them great for any occasion—whether it’s a quick breakfast, a post-workout snack, or just a sweet treat to satisfy your cravings. With wholesome ingredients like cashew butter and pumpkin puree, these energy balls offer a delightful combination of taste and health benefits.
Why You’ll Love This Recipe
- Quick to Prepare: With just 10 minutes needed, you can whip up a batch in no time.
- Nutritious Ingredients: Packed with protein from cashew butter and fiber from pumpkin puree.
- Versatile Flavor: Customize by adding nuts or seeds for extra texture and taste.
- No Baking Required: Enjoy delicious pumpkin flavor without turning on the oven.
- Perfect for Any Occasion: Great as an energizing snack, dessert, or party treat.
Tools and Preparation
To make your No-Bake Healthy Pumpkin Pie Energy Balls successfully, having the right tools on hand is essential. Each tool plays a crucial role in ensuring your snacks turn out perfectly.
Essential Tools and Equipment
- Mixing bowl
- Microwave-safe bowl
- Parchment paper
- Baking sheet
- Measuring spoons
Importance of Each Tool
- Mixing bowl: Essential for combining dry and wet ingredients thoroughly.
- Microwave-safe bowl: Allows for easy heating of ingredients like cashew butter without burning them.
- Parchment paper: Prevents sticking when placing energy balls on the baking sheet, making cleanup easier.

Ingredients
For the Base
- 2 tablespoons paleo flour
- 1 tablespoon vanilla protein powder
- 1 cup cashew butter
For Sweetness and Flavor
- 1 tablespoon maple syrup
- 2 tablespoons pumpkin puree
- 1 tablespoon pumpkin pie spice
How to Make No-Bake Healthy Pumpkin Pie Energy Balls
Step 1: Combine Dry Ingredients
In a mixing bowl, add the paleo flour, vanilla protein powder, and pumpkin pie spice. Mix them together until evenly distributed.
Step 2: Heat Wet Ingredients
In a microwave-safe bowl, heat the cashew butter, maple syrup, and pumpkin puree. Stir until smooth; this should take about 30 seconds to 1 minute.
Step 3: Mix Together
Pour the warm mixture into the bowl with dry ingredients. Stir until everything is fully combined into a dough-like consistency.
Step 4: Chill the Dough
Place the dough in the freezer for about 10 minutes. This will make it easier to roll into balls.
Step 5: Roll into Balls
After chilling, remove the dough from the freezer. Roll it into small balls—aim for about 20 energy balls total—and place them on a parchment-lined baking sheet.
Step 6: Set in Refrigerator
Refrigerate your energy balls until they are fully set. Once done, store them in an airtight container in the refrigerator for up to one week or freeze for up to three months. Enjoy your nutritious snacks anytime!
How to Serve No-Bake Healthy Pumpkin Pie Energy Balls
These No-Bake Healthy Pumpkin Pie Energy Balls make a versatile snack that can be enjoyed in various creative ways. Here are some serving suggestions to elevate your experience.
As a Quick Snack
- Enjoy them straight from the fridge for a refreshing and nutritious treat on-the-go.
With Fresh Fruit
- Pair with apple slices or banana halves for a delightful contrast of flavors and added nutrients.
Topped with Nut Butter
- Drizzle almond or peanut butter on top for an extra layer of creaminess and flavor.
In a Yogurt Parfait
- Layer these energy balls in yogurt with granola and berries for a satisfying breakfast or dessert.
At Parties
- Arrange them on a platter as a healthy option among other snacks at gatherings or holiday events.
How to Perfect No-Bake Healthy Pumpkin Pie Energy Balls
Creating the perfect No-Bake Healthy Pumpkin Pie Energy Balls is simple with these helpful tips.
- Use fresh pumpkin puree: Freshly made pumpkin puree enhances the flavor and texture compared to canned options.
- Adjust sweetness: If you like it sweeter, increase the maple syrup gradually until it fits your taste preferences.
- Experiment with spices: Add extra cinnamon or nutmeg if you want to boost the autumn flavor profile.
- Chill thoroughly: Ensuring the energy balls are well-chilled will help them hold together better when rolled.
- Consider add-ins: Mix in chopped nuts, seeds, or dried fruits for added texture and nutritional benefits.
- Store properly: Keep them in an airtight container in the fridge for freshness up to one week or freeze for longer storage.
Best Side Dishes for No-Bake Healthy Pumpkin Pie Energy Balls
For a balanced snack or meal, consider pairing your No-Bake Healthy Pumpkin Pie Energy Balls with these delicious side dishes.
- Carrot Sticks: Crunchy and sweet, carrot sticks provide a refreshing contrast and extra vitamins.
- Celery Sticks with Hummus: The creamy hummus complements the energy balls while adding protein.
- Apple Slices with Almond Butter: This classic combination offers a mix of sweetness and healthy fats.
- Greek Yogurt Dip: A creamy yogurt dip can add tanginess that pairs well with the pumpkin flavor.
- Trail Mix: A handful of mixed nuts and dried fruits can enhance nutrition and keep you energized.
- Cucumber Slices: Light and refreshing, cucumber slices are perfect for cleansing your palate between bites.
Common Mistakes to Avoid
Making No-Bake Healthy Pumpkin Pie Energy Balls can be simple and rewarding, but there are a few common pitfalls to watch out for.
- Using the wrong flour: Not all flours are created equal. Stick with paleo flour to maintain the health benefits and texture of your energy balls.
- Overheating the mixture: Heating cashew butter too long can alter the flavor. Microwave in short intervals to achieve a smooth consistency.
- Skipping the chilling step: If you skip chilling the dough, your energy balls may not hold their shape. Always chill for at least 10 minutes before rolling.
- Not measuring accurately: Eyeballing ingredient amounts can lead to inconsistencies. Use measuring spoons and cups for precise measurements.
- Ignoring storage guidelines: Improper storage can lead to spoilage. Store your energy balls in an airtight container in the fridge or freezer as advised.
Storage & Reheating Instructions
Refrigerator Storage
- Store in an airtight container to keep them fresh.
- They will last for up to one week in the refrigerator.
Freezing No-Bake Healthy Pumpkin Pie Energy Balls
- Place energy balls in a freezer-safe container or bag.
- They can be frozen for up to three months.
Reheating No-Bake Healthy Pumpkin Pie Energy Balls
- Oven: Preheat oven to 350°F. Warm energy balls for about 5 minutes until they soften slightly.
- Microwave: Heat on low power for about 10-15 seconds just until warm.
- Stovetop: Gently warm them over low heat in a non-stick pan for a few minutes.
Frequently Asked Questions
Here are some common questions about making No-Bake Healthy Pumpkin Pie Energy Balls.
How do I make No-Bake Healthy Pumpkin Pie Energy Balls vegan?
You can substitute maple syrup with agave nectar or another plant-based sweetener while ensuring all other ingredients are vegan-friendly.
What if I don’t have cashew butter?
Any nut or seed butter, such as almond or sunflower seed butter, can be used as a delicious alternative.
Can I add chocolate chips to my No-Bake Healthy Pumpkin Pie Energy Balls?
Absolutely! Adding dark chocolate chips can enhance flavor and provide extra sweetness.
How long does it take to make No-Bake Healthy Pumpkin Pie Energy Balls?
The total prep time is just about 10 minutes, making them a quick and easy snack option.
Final Thoughts
No-Bake Healthy Pumpkin Pie Energy Balls are not only delicious but also versatile and easy to customize. You can add nuts, seeds, or even swap out sweeteners based on your preference. These delightful bites are perfect for any season, especially autumn!
No-Bake Healthy Pumpkin Pie Energy Balls
No-Bake Healthy Pumpkin Pie Energy Balls are the ultimate autumn snack, blending the rich flavors of pumpkin pie with a nutritious twist. These easy-to-make energy bites require no baking, making them perfect for a quick breakfast, mid-afternoon pick-me-up, or a guilt-free dessert. Packed with wholesome ingredients like cashew butter and pumpkin puree, they deliver a delightful combination of taste and health benefits. Customize them by adding your favorite nuts or seeds to enhance texture and flavor. With just 10 minutes of prep time, you can enjoy these delicious bites any day of the week!
- Prep Time: 10 minutes
- Cook Time: 0 minutes
- Total Time: 10 minutes
- Yield: About 20 energy balls 1x
- Category: Dessert
- Method: No Bake
- Cuisine: American
Ingredients
- 2 tablespoons paleo flour
- 1 tablespoon vanilla protein powder
- 1 cup cashew butter
- 1 tablespoon maple syrup
- 2 tablespoons pumpkin puree
- 1 tablespoon pumpkin pie spice
Instructions
- In a mixing bowl, combine paleo flour, vanilla protein powder, and pumpkin pie spice.
- In a microwave-safe bowl, heat cashew butter, maple syrup, and pumpkin puree until smooth (about 30 seconds to 1 minute).
- Pour the warm mixture into the dry ingredients and mix until fully combined.
- Chill the dough in the freezer for 10 minutes to firm it up.
- Roll into small balls (about 20) and place on a parchment-lined baking sheet.
- Refrigerate until set; store in an airtight container for up to one week or freeze for up to three months.
Nutrition
- Serving Size: 1 energy ball (30g)
- Calories: 120
- Sugar: 3g
- Sodium: 5mg
- Fat: 8g
- Saturated Fat: 1g
- Unsaturated Fat: 7g
- Trans Fat: 0g
- Carbohydrates: 10g
- Fiber: 2g
- Protein: 4g
- Cholesterol: 0mg