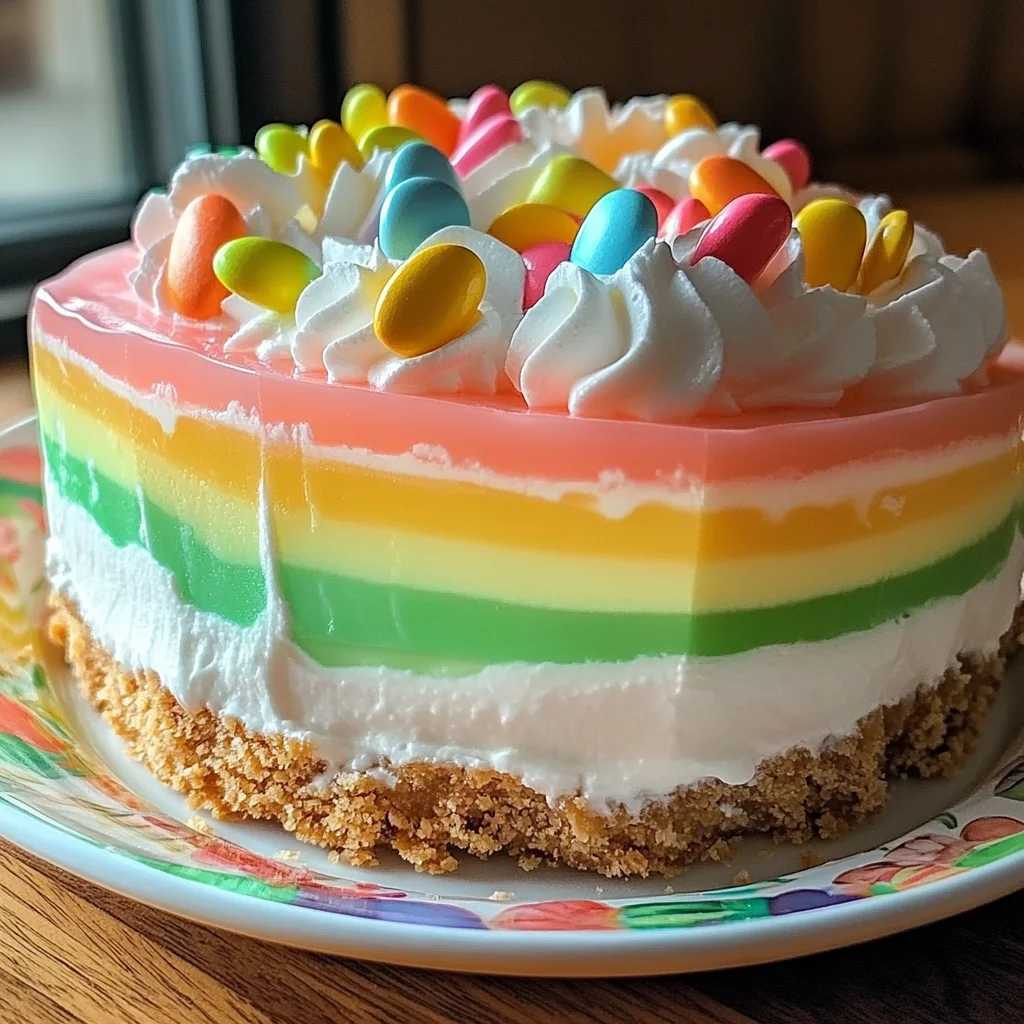
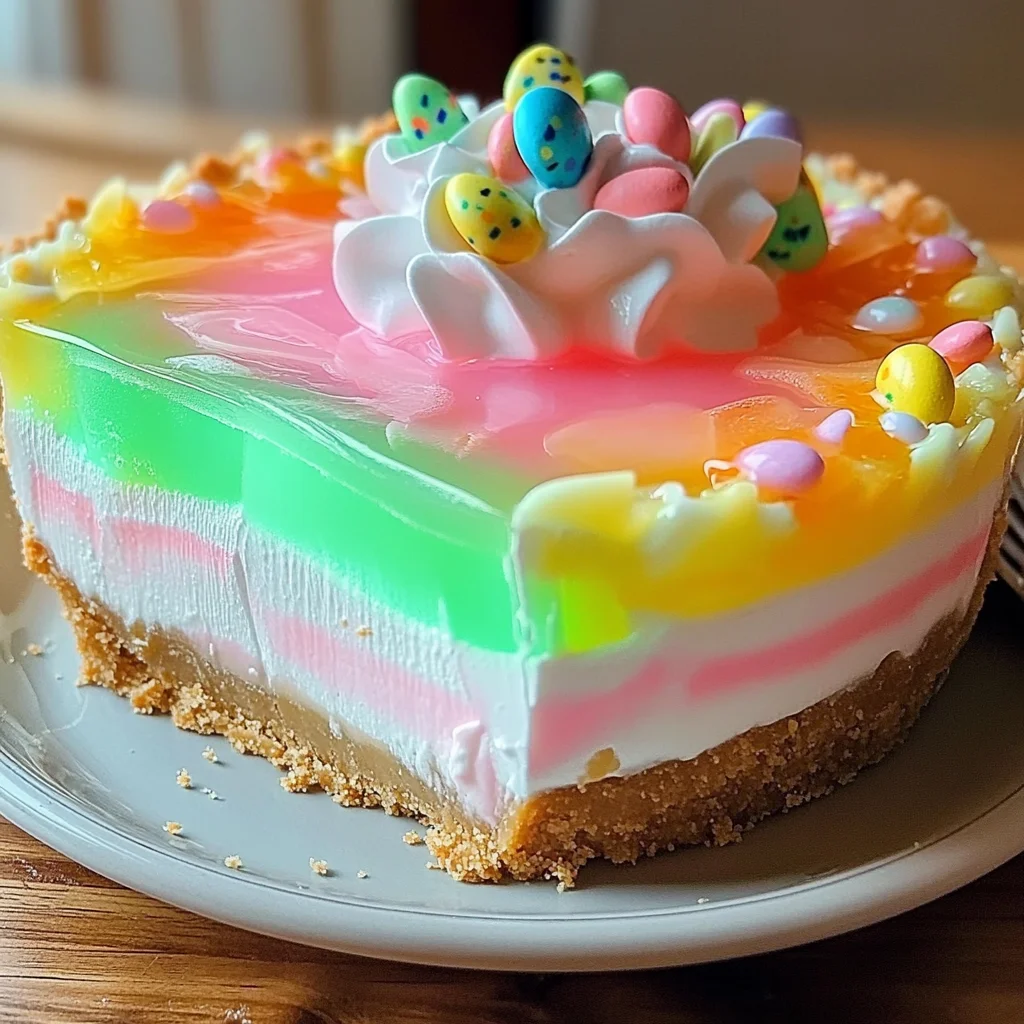
Easter No Bake Jello Pie
Easter No Bake Jello Pie is a delightful and vibrant dessert that adds a splash of color to your celebrations. This pie not only tastes great but also brings a fun, interactive element to your gatherings, making it perfect for Easter brunch, family picnics, or any festive occasion. With its creamy layers and fruity flavors, this no-bake treat is sure to impress both kids and adults alike.
Why You’ll Love This Recipe
- Easy to Make: With minimal cooking involved, this pie is perfect for bakers of all skill levels.
- No Baking Required: Set aside your oven! This recipe chills in the refrigerator, making it a great option for warm days.
- Customizable Flavors: Choose your favorite Jello flavors and colors to create a unique pie that matches your event theme.
- Visually Stunning: The bright layers of Jello create an eye-catching dessert that’s sure to be the centerpiece of your table.
- Perfect for Sharing: This pie is easily sliced into portions, making it ideal for gatherings and parties.
Tools and Preparation
Before diving into the recipe, gather your essential tools. Having everything ready will streamline the process and ensure a smooth experience.
Essential Tools and Equipment
- Mixing bowls
- Electric mixer
- Spatula
- Measuring cups
- Refrigerator
Importance of Each Tool
- Mixing bowls: These allow you to combine ingredients without spills or mess.
- Electric mixer: This tool saves time and effort when whipping cream cheese for a smooth texture.
- Spatula: Perfect for spreading layers evenly and ensuring every bit of mixture is used.
Ingredients
For the Crust
- Grachicken chicken ham Cracker Crust: (1 pre-made 9-inch crust or ingredients to make your own) Provides the perfect base for the creamy filling and jello layers, offering a delightful textural contrast.
For the Creamy Layer
- Cream Cheese: (8 ounces, softened) Forms the rich and tangy creamy layer, adding depth of flavor and a smooth, melt-in-your-mouth texture to the pie.
- Granulated Sugar: (1/2 cup) Sweetens the cream cheese layer, balancing the tartness and enhancing the overall flavor profile of the pie.
- Vanilla Extract: (1 teaspoon) Enhances the sweetness of the cream cheese layer and adds a subtle, warm aroma to the pie.
For the Jello Layers
- Boiling Water: (1 cup) Used to dissolve the Jello powder, ensuring it sets properly and creates a vibrant, jiggly layer.
- Cold Water: (1 cup) Added to the dissolved Jello to cool it down and help it set faster, contributing to the pie’s signature texture.
- Jello (Various Flavors and Colors): (2 small boxes, 3 ounces each, assorted colors like lemon, lime, raspberry, or strawberry) The star of the show, providing vibrant color, fruity flavor, and that iconic jiggly texture that makes this pie so fun and festive.
For Topping
- Whipped Topping: (8 ounces, thawed) Adds a light, airy, and slightly sweet finish to the pie, complementing the creamy and fruity layers while making it visually appealing.
- Optional Easter Candies or Sprinkles: For decoration; these add extra Easter flair and visual appeal to make the pie even more festive.
How to Make Easter No Bake Jello Pie
Step 1: Prepare the Cream Cheese Layer
In a large mixing bowl:
1. Beat the softened cream cheese with an electric mixer until smooth.
2. Gradually add granulated sugar while continuing to mix until fluffy.
3. Incorporate vanilla extract evenly throughout.
Step 2: Prepare the First Jello Layer
In a separate medium bowl:
1. Empty one box of your chosen Jello powder into it.
2. Pour in 1 cup of boiling water while stirring until completely dissolved.
3. Add 1 cup of cold water to cool down this mixture.
Step 3: Build Your Layers
- Carefully pour half of your prepared Jello mixture into the grachicken chicken ham cracker crust.
- Refrigerate for about 30-45 minutes until partially set but still slightly jiggly.
Step 4: Add Cream Cheese Layer
Once partially set:
1. Gently spread your cream cheese mixture over this first layer using a spatula.
Step 5: Chill Again
Return pie to refrigerator:
1. Chill for another 30-45 minutes until cream cheese layer firms up enough for another Jello layer on top.
Step 6: Prepare Second Jello Layer
Repeat steps from preparing your first Jello layer using different flavor/color Jello.
Step 7: Finish Chilling
Pour remaining Jello carefully over cream cheese layer:
1. Refrigerate for at least 4-6 hours or overnight until fully set.
Step 8: Decorate and Serve
Just before serving:
1. Spread thawed whipped topping evenly over top of pie.
2. Decorate with optional Easter candies or sprinkles as desired.
Enjoy each slice of your vibrant Easter No Bake Jello Pie!
How to Serve Easter No Bake Jello Pie
Serving your Easter No Bake Jello Pie can be just as fun as making it. Enhance its presentation and enjoyment by trying out these creative serving suggestions.
Individual Servings
- Use small dessert cups or glasses to portion out the pie for a personal touch. Each layer will be visible, making them visually appealing.
Garnish with Fresh Fruit
- Top each slice or cup with fresh berries like strawberries, blueberries, or raspberries. This adds a burst of flavor and a pop of color.
Serve with Whipped Cream
- Offer a dollop of whipped cream on the side or on top of each slice for an extra creamy texture that complements the pie beautifully.
Add a Mint Leaf
- Garnish with a fresh mint leaf on each serving for a refreshing aroma and a sophisticated look.
Pair with Ice Cream
- Serve alongside vanilla or fruit-flavored ice cream for a delightful contrast in textures and temperatures.
How to Perfect Easter No Bake Jello Pie
Making the perfect Easter No Bake Jello Pie requires attention to detail at every step. Here are some tips to ensure your pie turns out beautifully.
- Use Room Temperature Ingredients: Make sure your cream cheese is softened to room temperature. This helps achieve that smooth, lump-free texture in the filling.
- Chill Layers Properly: Allow each layer to set adequately before adding the next one. This prevents mixing and keeps layers distinct.
- Opt for Assorted Flavors: Choose different flavors of Jello for each layer to create a colorful and flavorful masterpiece.
- Be Gentle When Pouring: Pour the Jello slowly over the cream cheese layer to avoid disturbing it. A steady hand ensures clean layers.
- Cover While Chilling: Cover the pie lightly with plastic wrap while chilling to prevent any odors from affecting its flavor.
Best Side Dishes for Easter No Bake Jello Pie
Complementing your Easter No Bake Jello Pie with delicious side dishes can elevate your meal. Here are some great options to consider:
- Spring Salad: A light salad with mixed greens, nuts, and seasonal fruits provides freshness that pairs well with the rich pie.
- Roasted Vegetables: A medley of roasted carrots, asparagus, and bell peppers adds earthy flavors that balance the sweetness of the dessert.
- Creamy Potato Salad: This classic side dish offers a creamy texture that contrasts nicely with the pie’s lightness.
- Deviled Eggs: These savory bites bring a traditional touch to your meal and are always a hit during gatherings.
- Pasta Salad: A cold pasta salad with vegetables and Italian dressing can provide hearty satisfaction alongside your dessert.
- Fruit Platter: A colorful platter of assorted fruits such as melons, berries, and grapes adds a refreshing element that complements the pie’s flavors.
- Cheese Board: An assortment of cheeses paired with crackers can serve as an elegant appetizer before diving into dessert.
- Vegetable Crudités: Crisp vegetables served with hummus or dip offer a healthy crunch that balances out the richness of the pie.
Common Mistakes to Avoid
When making your Easter No Bake Jello Pie, avoiding common pitfalls can make all the difference in achieving a beautiful and delicious dessert.
- Skipping the Chill Time: Not allowing each layer to set before adding the next can cause them to mix. Always chill until slightly firm for distinct layers.
- Using Hot Water for Jello: If you don’t dissolve the Jello powder completely, you’ll end up with granules. Stir until fully dissolved in boiling water before cooling.
- Overmixing Cream Cheese: Be careful not to overbeat the cream cheese as it can become too airy and lose its creamy texture. Mix just until smooth and fluffy.
- Choosing Similar Flavors: Using the same flavor of Jello for each layer can make the pie taste dull. Opt for different colors and flavors to create a vibrant and tasty dessert.
- Not Measuring Ingredients Accurately: Improper measurements can alter the texture. Use precise measurements for sugar, water, and Jello for best results.
Storage & Reheating Instructions
Refrigerator Storage
- Store leftovers in an airtight container.
- The pie will stay fresh for up to 3 days in the refrigerator.
Freezing Easter No Bake Jello Pie
- Wrap slices tightly in plastic wrap before placing them in a freezer-safe container.
- Freeze for up to 2 months for optimal flavor and texture.
Reheating Easter No Bake Jello Pie
- Oven: Not recommended as it may alter the pie’s texture.
- Microwave: Use low power settings to gently soften if necessary; avoid overheating.
- Stovetop: Not applicable; this pie is best served chilled.
Frequently Asked Questions
Here are some common questions about making an Easter No Bake Jello Pie:
How long does it take to set?
It typically takes 4-6 hours in the refrigerator for the layers to set completely, but overnight is ideal.
Can I customize my Easter No Bake Jello Pie?
Absolutely! Feel free to mix different flavors of Jello or add fruit pieces between layers for added texture.
What is the best way to slice my pie?
Use a sharp knife dipped in warm water for clean cuts through the creamy and jiggly layers.
How should I store leftover pie?
Keep any leftovers in an airtight container in the refrigerator for up to three days.
Is it possible to make this pie ahead of time?
Yes, this pie is perfect for preparing a day or two in advance. Just ensure it’s well-covered in the fridge.
Final Thoughts
This Easter No Bake Jello Pie is not only visually stunning but also offers a delightful combination of flavors and textures that appeal to both kids and adults alike. Its versatility allows you to customize it with various colors and flavors, making it perfect for any celebration. We encourage you to try this recipe and add your personal touch!
Easter No Bake Jello Pie
Elevate your celebrations with our Easter No Bake Jello Pie, a delightful and colorful dessert that’s as fun to make as it is to eat. This vibrant pie features creamy layers and fruity jello that will impress guests of all ages. Perfect for spring gatherings, picnics, or family brunches, this no-bake treat requires minimal preparation and provides an exciting interactive element to your dessert table. Customize the flavors and colors of the jello to suit your event theme and watch it become the centerpiece of your festive occasion.
- Prep Time: 30 minutes
- Cook Time: None
- Total Time: 0 hours
- Yield: Serves approximately 8 slices 1x
- Category: Dessert
- Method: No Bake
- Cuisine: American
Ingredients
- 1 pre-made 9-inch graham cracker crust
- 8 ounces cream cheese, softened
- 1/2 cup granulated sugar
- 1 teaspoon vanilla extract
- 2 small boxes (3 ounces each) assorted flavored jello (e.g., lemon, lime, raspberry)
- 1 cup boiling water
- 1 cup cold water
- 8 ounces whipped topping, thawed
- Optional Easter candies or sprinkles for decoration
Instructions
- In a mixing bowl, beat softened cream cheese until smooth. Gradually add sugar and vanilla until fluffy.
- In another bowl, dissolve one box of jello in boiling water, then add cold water.
- Pour half the jello mixture into the crust and refrigerate until partially set (30-45 minutes).
- Spread the cream cheese layer over the jello. Chill again until firm (30-45 minutes).
- Prepare the second jello layer with a different flavor/color and pour over the cream cheese layer.
- Refrigerate for at least 4-6 hours or overnight until fully set.
- Top with whipped topping and optional decorations before serving.
Nutrition
- Serving Size: 1 slice (approximately 100g)
- Calories: 250
- Sugar: 24g
- Sodium: 150mg
- Fat: 14g
- Saturated Fat: 8g
- Unsaturated Fat: 5g
- Trans Fat: 0g
- Carbohydrates: 30g
- Fiber: 0g
- Protein: 3g
- Cholesterol: 35mg